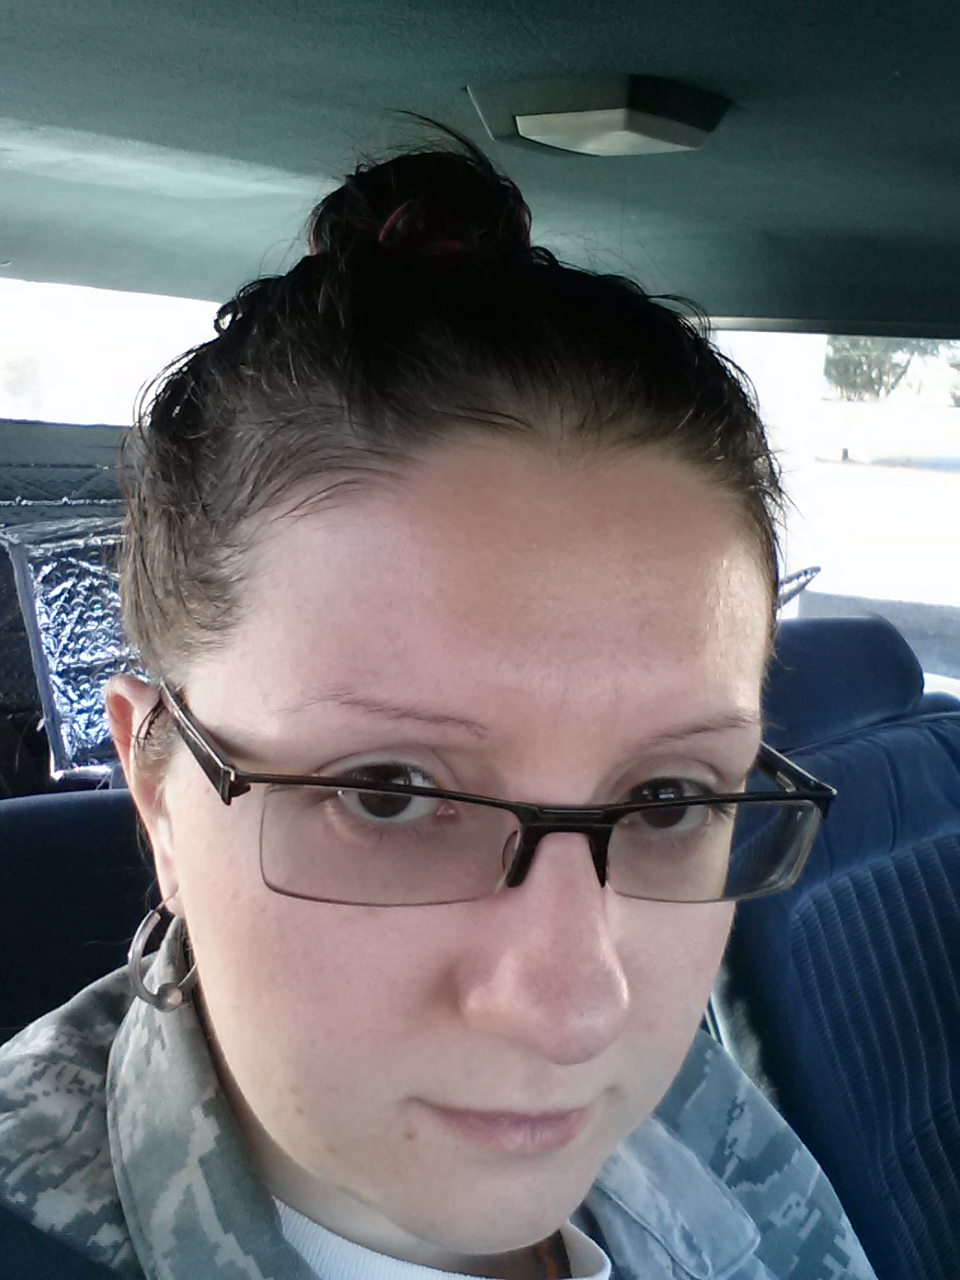
Sorry I haven't written for a few days. I've been busy with the baby, and the weather here has been terrible. We've been having a monsoon thunderstorm, sometimes with rains that would make a dried turd float away for the past few days. And the lightning displays! There have been some impressive pictures floating around the internet of the monsoon lightning storms.
Due to the weather, I had to hold off on hennaing my hair. To make the paste and apply it is easy enough, but washing it off requires getting in the tub and holding my head under the faucet to rinse the paste off. It's not safe to do that with lightning crackling outside your window!
But earlier in the week, there was a break in the storms and I was finally able to make my henna paste.
I'd encountered henna for the first time when I was in high school. My two best friends were sisters whose family was of Indian descent, and they introduced me to the stuff, but it was another friend who I would meet here in Arizona who really taught me all the specifics of henna and its practical applications.
First of all, what is henna?
Henna is a paste made from the dried leaves of the henna plant, which is native to India and Pakistan, but can be found growing in the Middle East and North Africa. When harvested, the leaves are dried and then ground to make a fine green powder, which is then mixed with lemon juice or water, sugar, special essential oils (referred to amongst henna artists as "terps", thanks to certain alcohol components in the oils), and left to sit for a time to let the liquids break down the cellulose in the dried leaves and release the dye. After the dye is released, the paste is given a final stir and then squirted into cellophane or mylar cones for application on the body in intricate patterns, a practice known as mendhi. Natural henna produces a stain on skin ranging from light orange to brown to deep red, depending on location and body chemistry. Unscrupulous henna companies will often mix chemicals into their pastes to give an artificially dark stain or longer shelf life.
In addition to body art, henna has long been used to color and treat hair and nails. It's a natural antiseptic and fungicide, and makes an excellent conditioner. Like on skin, henna will stain hair and nails orange-red. How deep the stain gets varies based on color of hair (if applying in hair), how long its left on, and if there are any additives to the henna (indigo and cassia can be added to henna to darken or lighten the resulting color of hair. They will not work on nails). My natural hair is light brown, so when I henna my hair, it turns a deep mahogany red (see pix below).
 |
| My roots |
 |
| What color it becomes with henna |
So now that you know what henna is, where can you get it and how can you make the paste?
I buy my henna online. I use body art quality (BAQ) henna, as it is the most pure and safest sort of powder. My preferred source is Henna Lounge, as I've found her powder (both for hair and body art) to be of excellent quality. If you are unable to shop online, you can look to see if local Indian grocery stores carry henna powders, but they tend to be stale or chemical-laden. I will provide links to a few henna suppliers as well as some further general info at the end of this post.
To make and apply henna hair paste, you're gonna need a few things
 |
| I use that ice cream tub for mixing both hair and body art henna |
- a non-reactive mixing bowl of some sort (I use a plastic ice cream tub)
- a 100g bag of dried henna powder
 |
| My preferred brand of henna. The package is a bit dirty cuz one of my body art cones leaked |
 |
| What henna looks like once the foil pouch is removed |
- lemon juice
- gloves
- plastic bag grocery bag (not pictured)
- time
Step one: Open henna bag and pour into mixing vessel
 |
| Better shot of color |
 |
| My cat, Pest, just HAD to check out what I was doing before I shooed him away. Don't let your pets (or yourself) eat henna. It's not good to ingest. |
Step two: Add lemon juice, and mix with your gloved hands until the paste is uniformly dark (no light green powder patches) and is the consistency of thick mashed potatoes
 |
| It'll look and smell kinda gross, but this is the consistency you're looking for |
Step three: Cover paste with plastic bag, and seal with lid if your vessel comes with one (like an ice cream tub) for added protection against oxidation.
 |
| Press down on the plastic bag to get all the air out. If you're not using a lid, you're ok |
 |
| All sealed up |
Step four: Place in warm spot, wait 4-24 hours, test spot occasionally. You'll want a stain that's bright orange
 |
| If it's nighttime when I make my paste, I put it on my dresser. Otherwise, I put it outside in the sun |
 |
| Good to go. Time will vary depending on temperature (warmer=faster dye release) |
Step five: Remove plastic cover, mix the paste again to redistribute the released dye (if you like your paste a bit thinner, add more liquid till the paste's consistency is like yogurt), and apply to hair like a leave-in conditioner.
 |
| Dye is now released |
 |
| You can see the difference between the released brownish dye layer, and the green goopy plant matter underneath |
 |
| Make sure you get all the way down to the scalp. You can also put vaseline around your hairline to prevent stains from the paste on your face |
Step six: Cover hair with plastic, wrap head with towel or a hat to seal in body heat
 |
| You can use plastic wrap, but if you're poor and/or ghetto (like me!), plastic grocery store bags will suffice |
 |
| Let set for at least 4 hours, but I recommend overnight for best results |
Step seven: Rinse out the paste. Shampoo and condition as usual. Note: it may take a few rinses and shampooings before the water runs completely clear when you wash your hair
Step eight: Let hair air dry. Try not to wash it for a few days (like 2-3 days max) so that the henna will oxidize and darken. It'll be shiny and feel stronger/thicker in the meantime too
 |
| A day's worth of oxidation. It smells better too-more earthy, less gross |
And, you're done!
Is hennaing hair time consuming? It can be. If you make it fresh like I do, it is time consuming. But, you can make the paste ahead of time and freeze it, thawing out only what you plan to use.
As for how much henna is enough, 100g is sufficient for most hair lengths (short-medium, or long but thinner hair) and touchups. 200g (two of those 100g packages in the pictures above) is sufficient for long hair (like for an initial color job or significant amount of roots between dye jobs). Use 300g or more for longer and/or thicker hair
I henna my hair every few months, when my roots start becoming really obvious. My hair does not grow very fast, so it buys me time between colorings. While I don't typically do this, I have used body art henna cones that lost their staining power in a pinch. Even if the color doesn't take, the conditioning properties are still there, which is the main reason I use henna in my hair in the first place. And because it's natural with no added chemicals, I was able to safely henna my hair all throughout my pregnancy and now as a nursing mother.
Thank you for reading this tutorial. I hope you find it useful and easy to understand
For more information:
Where to buy:
http://hennaguru.com/
http://hennacaravan.com/shop/hair.html
http://www.mehandi.com/shop/hairhenna.html
General information:
http://www.mehandi.com/shop/hennahairbook/index.html (Free downloadable PDFs filled with useful information about henna and hair. No need to download anything special to read them, just click on the links and read in the browser)